Components of the project
- Raspberry Pi 3b
- Breadboard
- Raspberry Pi Camera V2
- DuPont cable
- SD card
Summary of Week’s Activities
- Connect the Raspberry Pi to the screen first.
- Connect the camera to the Raspberry Pi and test whether it works
- The most significant step is to connect to the network in order to install the required system named “Raspbian” and update it.
Problem encountered and solutions
- The first problem occurred when connecting to the screen. There is no HDMI port in the lab computer which means that Raspberry Pi cannot work on the screen. Finally, a HDMI to DVI cable was used to solve this problem.
- The biggest problem encountered this week is that Raspberry Pi cannot connect to the wifi of the university. We tried to edit some codes in the network part of Raspberry Pi but failed. Finally, we use “SSH Connect”, which is method to let Raspberry Pi share the computer’s network. However, a weakness is that the network becomes slow.
Achievement in this week
Figure 1 is the finished connection of the Raspberry Pi and the camera.
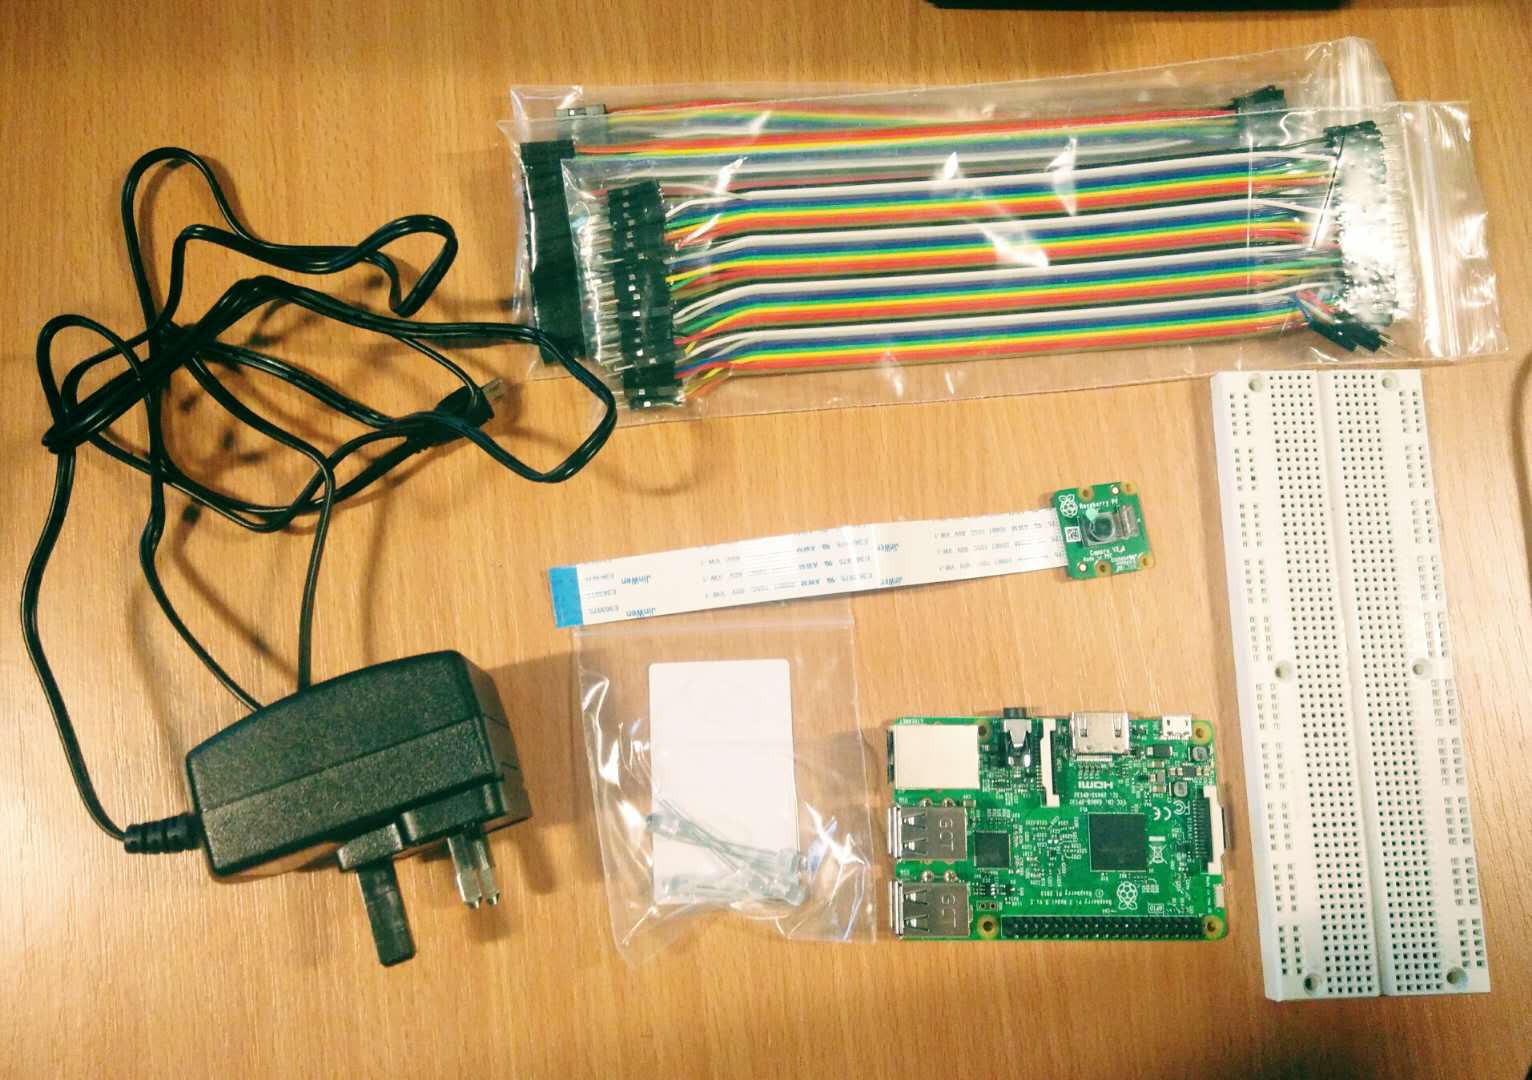
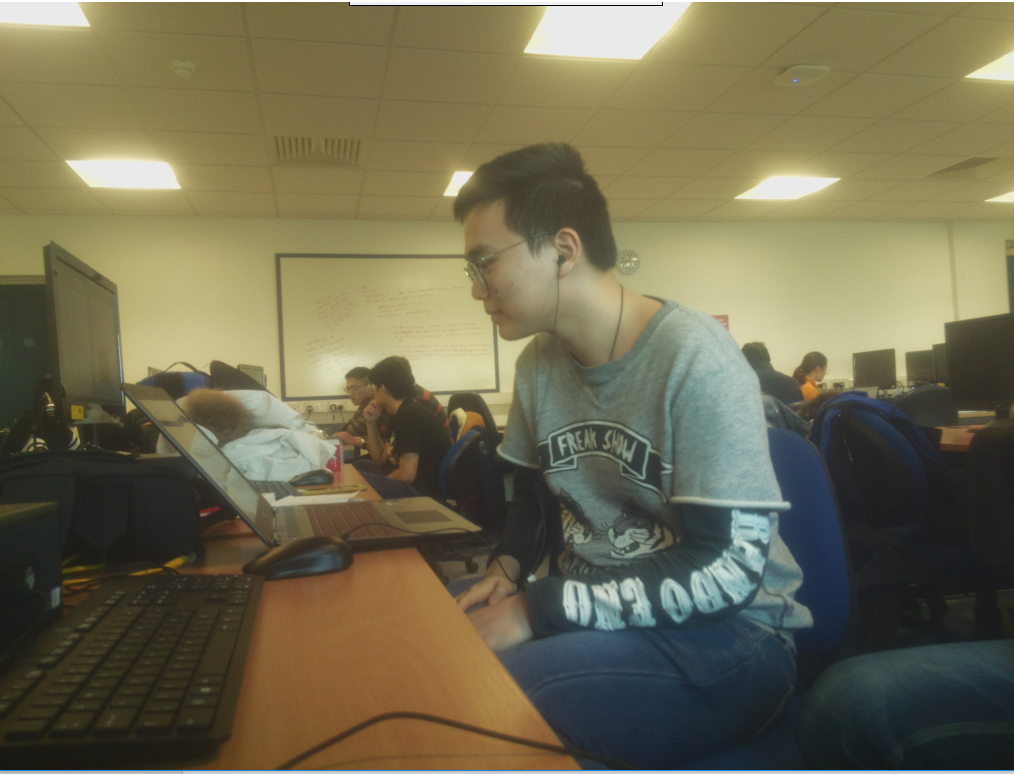
Figure 2 shows the test result of Camera V2. From this picture, figures of students can recognized but it is not that clear because the photo resolution is not very well. This problem is related to the camera itself.